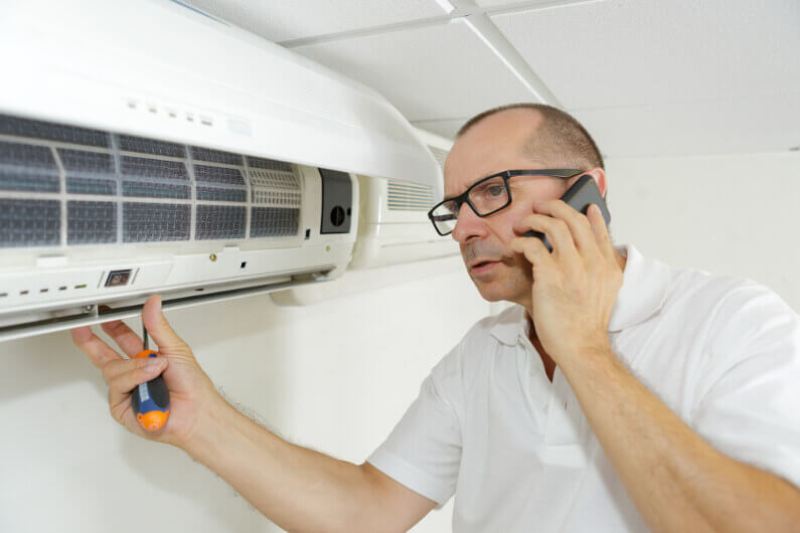
Is your central air conditioner unable to deliver the necessary temperature control during a heat spell? Air conditioning systems often fail because of varying reasons. But a thorough check can help you detect the problem. Repairing your AC may cost you lots of money if you have to buy damaged parts of the unit. You also need to pay a technician to do the repair job if you lack the technical skills. But sometimes such expensive repairs can get avoided if you can grasp these AC troubleshooting and repair tips. Most of the time, your problem is something you can handle with ease if you have the right tools.
It is often disappointing to call in a technician to only flip a circuit breaker and charge for the service and commute. As such, it’s always advisable to do some DIY checks before calling any air conditioner repair company or technician.
DIY Air Conditioner Repair Steps
Here are some of the insightful tips that you can use to repair your central air conditioning system when it fails to run or blows warm or less than cold air in hot weather.
Take Caution by Turning off the Power
Before attempting any repair works, it’s always prudent to turn off the power supply to avoid possible electrocution. You should turn off the furnace breakers and AC at the main electrical panel before removing the access panel of the condensing unit and pulling the disconnect. You should then use a voltage tester on the wiring to ensure the power is off.
If you don’t have any experience with this process, it’s better to
leave it to professionals. A skilled furnace installer will know
exactly where to check for electrical connections and how to handle
them properly. Moreover, they have the necessary equipment and
experience to ensure safety while working with electricity.
Start by Checking Your Breaker
If your AC can’t come on, then there is a likelihood that your breaker may have tripped. If you’ve connected various lighting fixtures and appliances to the same line that has a circuit breaker, then it will often trip when overloaded, and the disconnection can stop your AC from functioning. Such a quick check can help you restore the connection by a simple flip of the breaker. But you should avoid any future overloads to prevent a repeat of the problem.
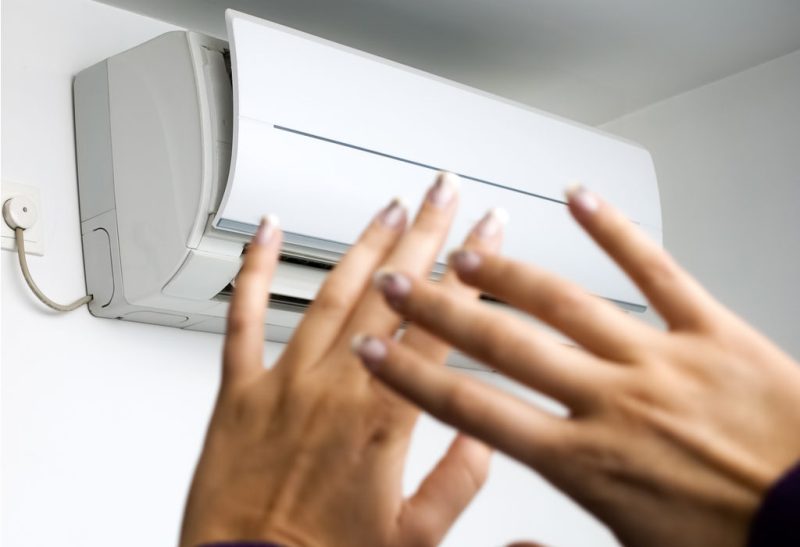
Examine Your Unit’s Thermostat
The changes in the thermostat settings can get changed, or this part of the system may get damaged. If the settings aren’t right, then you may not get ambient room temperature levels in extreme weather. If this part of your AC is battery operated, then you may need to replace the batteries when they become depleted. You should always ensure that your thermostat gets set at a temperature that is below the ambient room temperature and ensures that it isn’t turned off.
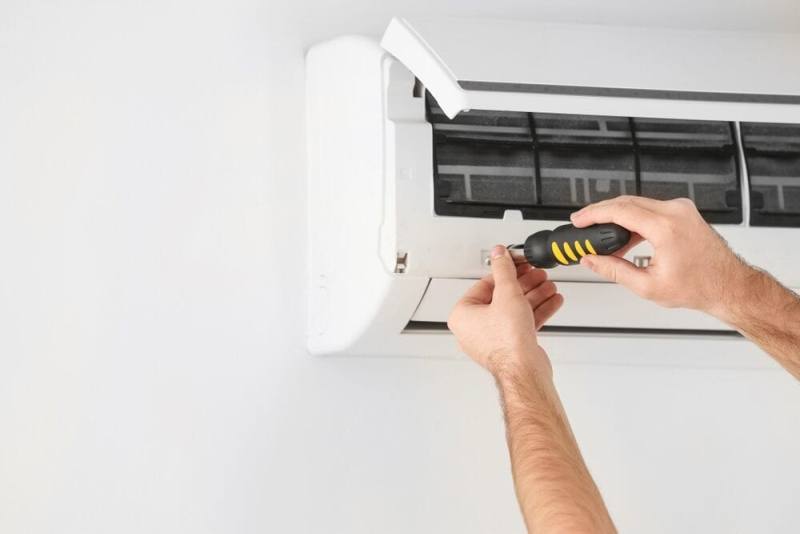
Check Your System’s Fuses
Most disconnect blocks of AC units have two cartridge fuses. You should check these fuses before you start your DIY repair work. The blown fuses may also be attached to lose components that may be falling apart or causing the fuse to blow. If your fuse blows up after a replacement, you should call a technician to get help because there may be other more underlying problems.
Check the System’s Ducts
If you can climb into your attic, then you should check the ducts to ensure that they aren’t blocked with dirt that may hamper airflow. If the ducts are dirty, then you should clean them to improve airflow. Sometimes a register may have gotten closed by accident or all the way, and a simple check can reveal whether air is flowing correctly through the system.
Change the Filter of Your Air Conditioning Unit
You can avoid most air conditioner repairs by changing your filter as advised by your installing technician. A clogged or dirty filter often causes issues that may reduce the efficiency of your system to cool your home. Clogged filters can also cause icing up, which reduces your system’s working ability. You should thus check your system’s filters and change them regularly.
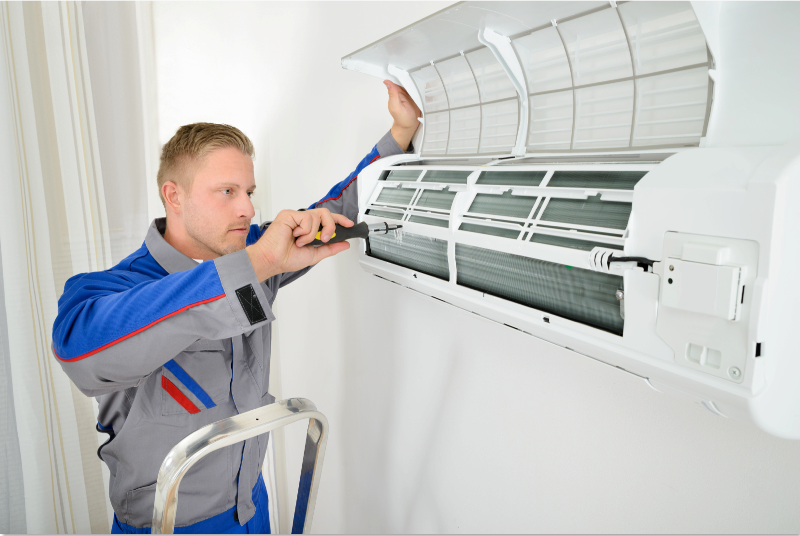
Give Your AC Some Thorough Cleaning
Sometimes your AC doesn’t need some repairs to improve its cooling efficiency. Your air conditioning unit often needs cleaning to improve its ability to cool your home in hot weather. You should clean the fan blades and get out any debris near the AC unit or inside it. You can also clean the condenser fins, but you should be careful when cleaning the fins and blades because they can break or bend with ease. You can use a garden hose and nozzle to clean the unit upwards to the top of the condenser coil to remove the crud accumulation on the lid. You should clean all-round the coil and flush the debris down the system.
Melt Any Accumulated Ice
An iced up AC unit won’t cool your home as desired. But you can melt the ice by turning the system off and running the fan to help the system in melting the ice. You can also turn the AC off and let the ice to warm up and melt on its own.
Check and Replace AC Contactors
AC contactors are relays that use low voltage power to turn on the thermostat, which switches the high-amperage current that runs the condenser fan and compressor. AC contactors often wear out, and they can often lead to air conditioning service failures. You should change your AC contactors at least once in every five years or as recommended by your installation technician.
Test the Repairs You Make
After completing the repair exercise, you should reinstall the disconnect block and access panel. After that, you should turn on the furnace switch and circuit breaker. You should then set your thermostat to a low temperature and wait for your air conditioning system to start. If your AC system doesn’t run, then you’ve most probably given it the best shot, and it is time to call in a pro.
These are some of the common repair tips, which you should use to repair your system when it fails. The repair tips can save you money, but it’s always prudent to call in a technician if you encounter any challenges that you can’t handle. Major electrical repairs and Freon addition should get left to the specialists.